Determining The Amount of Clay
Evaluating the clay’s proportions to establish the ideal size for the vase, balancing functionality with aesthetic form.

Measuring and Cutting the Right Clay Amount
Carefully measuring and cutting the exact amount of clay needed to ensure the vase starts with perfect proportions.

Centering the Clay on the Wheel
Preparing the clay by firmly positioning and centering it on the wheel, a crucial step for creating balanced, even walls for the vase.

The First Pull
Beginning the vase's shape by making the first pull, gradually lifting and forming the clay walls to establish height and structure.

Stretching the Clay in the Pull
Gently stretching and pulling the clay to build height and form, shaping the vase’s walls with balanced pressure and precision.

Bringing the First Pull to the Top
Lifting the clay with care, bringing the first pull all the way to the top of the piece, shaping the walls and setting the stage for further refinement

Endless Pulls to Achieve the Perfect Height
Repeatedly pulling the clay, refining the form with each movement, until the vase reaches the desired height and proportions.

Collaring the Clay to Control Width
Using gentle hand pressure to collar the clay, narrowing the piece when it widens too much, refining its shape and ensuring balance.

Finishing the Collar to the Top
Refining the collaring process by gently shaping and narrowing the top of the pot, ensuring smooth, consistent lines from base to rim.

Pushing Out to Shape the Vase
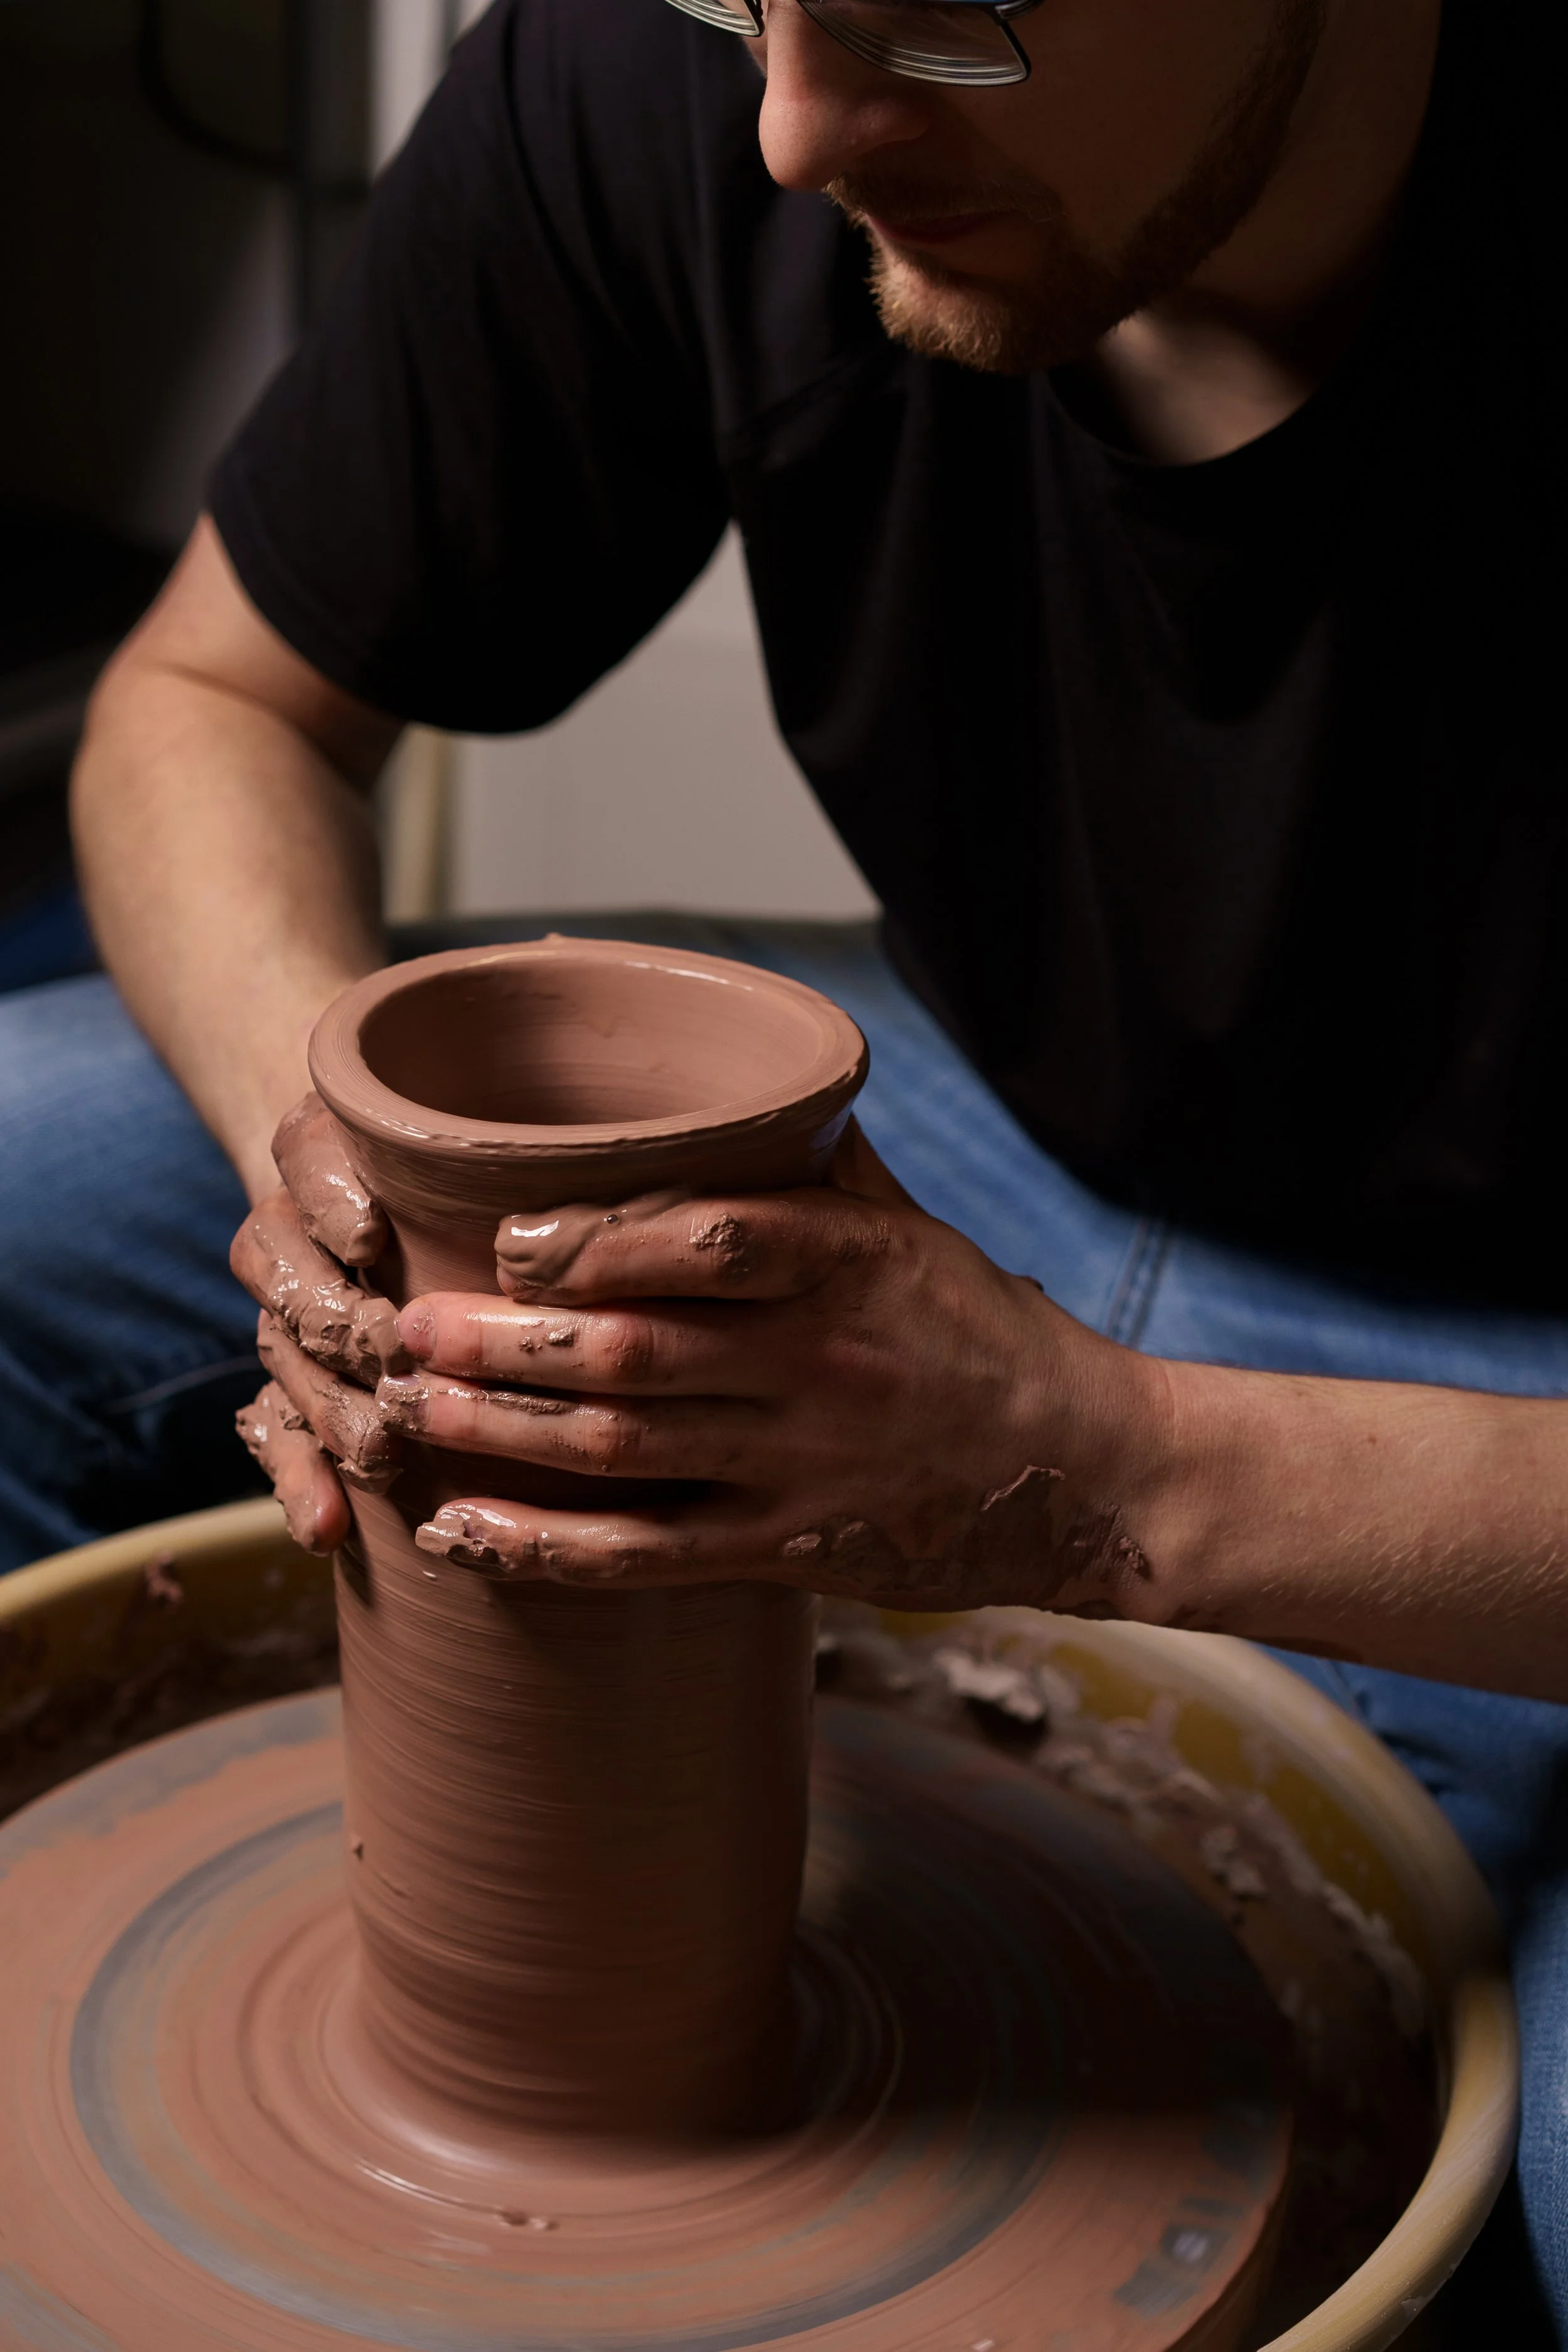
Using controlled pressure to push out the walls of the clay, gradually forming the vase's curves and giving it its distinctive shape.

Refining the Shape with a Plastic Rib
Using a plastic rib to smooth and perfect the main shape of the vase, ensuring even curves and a polished finish.

Shaping the Upper Rim and Top
Carefully working the upper part of the vase, refining the rim and top to ensure a clean, even edge that complements the overall form.

Finishing the Rim and Upper Edge
Refining the upper edge and rim of the pot with delicate touches, adding the finishing details to ensure a smooth, polished finish.

Reviewing and Adding Final Details
Carefully inspecting the piece and adding subtle details to perfect the form and enhance the vase's overall design.

Cleaning and Refining the Rim
Gently cleaning and smoothing the rim to achieve a crisp, even edge that enhances the vase’s final appearance.

Correcting Over-Extension Mistakes
Carefully adjusting areas where the clay was pushed too far, restoring balance and refining the shape to ensure a polished finish."

Finalizing with Small Details
Adding the last touches of detail, refining small features and ensuring every part of the vase is complete before finishing the piece.

Preparing the Bottom Before Removing from the Wheel
Smoothing and refining the bottom of the vase to ensure a clean, even surface before carefully lifting it off the wheel.

Steady Hand Before Cutting Off
Maintaining a steady hand while cleaning and smoothing the bottom of the vase, ensuring precision before carefully cutting it off the wheel.

Work Complete, Ready to Dry
The vase is finished and set aside to dry, awaiting the next step of carving once fully hardened.


